How to create quality Bump It Up resources
Part 2 of 3

By KELLIE
There are many benefits in creating Bump It Up resources that align with the teaching and learning cycle and cater for the developmental needs of students. To assist make this often complicated task more simple, this blog explores 5 steps to creating a Bump It Up resource.
Assessment for learning is the main driver behind using Bump It Up resources to teach writing (Wilson, 2019). Assessment for learning is best described as a process by which teachers respond to assessment data to adjust instruction with the intention of maximising learning.
Black and William (2009) identified activities that were more likely to maximise student learning, and Bump It Ups achieve many of these including:
- clarifying the criteria for success by using examples making explicit what students will be expected to know and do against the evaluating criteria.
- providing a way for teachers to give feedback that moves learning forward and focuses on the writing strategies being taught.
- engaging students in opportunities for self and peer evaluation.
- helping students take ownership of their learning through goal setting, self-evaluation and revision.
Clearly then, dedicating time and effort to these resources is well worth the effort! Some of the following steps in creating a Bump It Up resource are more complicated and time-consuming than others. However, as you progress through each step, the information accumulated will assist you to complete the process most effectively.
1. Identify the curriculum expectations of the assessment task
To begin a Bump It Up resource start by identifying the curriculum expectations relevant to the assessment task at the end of the teaching and learning cycle. This will ensure clarification of what students are expected to know and do.
- What are the Australian Curriculum Achievement Standards the students are working toward?
- What is the purpose of the assessment task and the type of text they will be required to produce?
- What criteria will students be required to demonstrate to be successful in the assessment task?
2. Develop the writing progression
The next step is to identify how improvement, or refinement, is demonstrated at each level of achievement.
Examine the marking guide to determine the difference in quality between each standard or level of achievement. Each standard description describes the qualities students’ work should demonstrate at each level of achievement and provide teachers with a measure of the quality.
An efficient way to organise the criteria is to identify and group the standard descriptions that describe the increments of improvements for each aspect of the Achievement Standard being assessed. This strategy results in a ‘progressive map’ for each aspect. Additional task specific details can be added to create the outline for the writing progression.
The benefit of this approach is a clearly defined progression of improvement specific to each aspect of the assessment task. These writing progressions can be introduced individually as the teaching and learning sequence moves towards production of a whole text. This method is different to starting with a whole text with the various paths of progressions annotated.
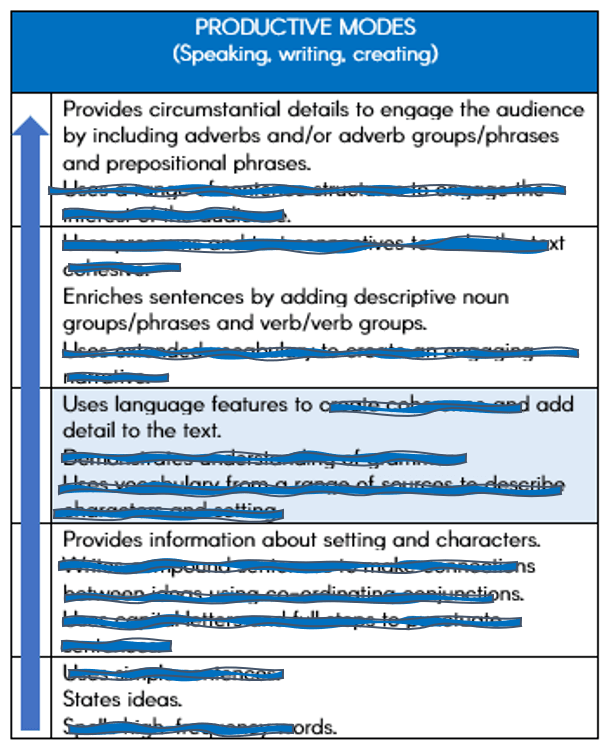
In this example, the standard descriptions not related to the Achievement Standard “uses language features to add detail to the text” have been removed.
Additional task specific information is added to the teacher notes and the writing progression is taking shape.
Please note that this sample does not relate to an assessment task.
Understanding what is expected at each level of achievement guides the writing progression and ensures that the samples, explanations and student writing goals will align with curriculum expectations.
Additional information and details on aspects of writing progression can be sourced from other Australian Curriculum resources, such as content descriptions and the Literacy Learning Continuum.
3. Create examples of writing that demonstrate the improvement in quality
Now that you have created a writing progression for each aspect, the next step is to create examples of writing that show what each level looks like as the quality of writing improves.
Write an example to demonstrate what is expected of students’ writing to meet the year level expectations particular to the assessment task. Student samples that meet this criteria can also be used with student’s permission, or identifiable elements are removed from previous students’ samples.
While there are varying opinions on this, consider including an example demonstrating below year level expectations. Include a clear statement explaining why the sample is not at year level standard.
In most classrooms, there will be students working at, or even toward this level of achievement. Providing a sample of writing similar to their own ensures they are not excluded from the valuable process of using the resource to determine where they are at, their next step for learning and how they will know they have achieved it. This below level example is an entry point to interacting with the Bump It Up wall, and the writing skills they are demonstrating will be acknowledged as their ‘starting’ point.

For each identified step in the progression write an example that demonstrates what a piece of writing looks like.
You may find that the level of achievement may have more than one element of progression.
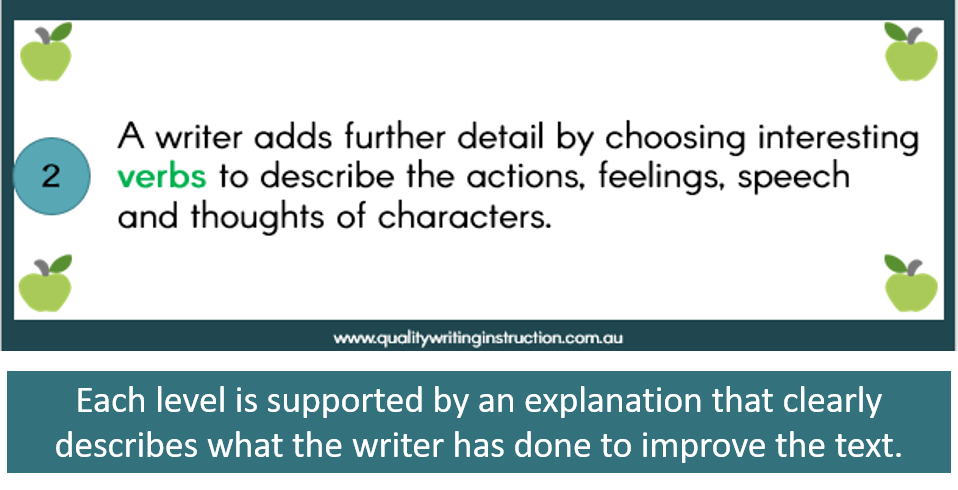
4. Write a short statement explaining each example
Write an explanation of the qualities of this example, or what the writer has done to achieve this standard of writing.
An explanation for the above piece of text, for example, might be: “This is basic level writing. The writer has included simple nouns and verbs to describe an event and introduce characters.” This statement relates to the aspect of the Achievement Standard the progression is built around with additional details.
The writing examples and explanation must make it clear what students are expected to demonstrate as the quality of writing improves aligned to the criteria on the assessment marking guide.
Keep the focus for improvement simple, with only one or two (at most) differences in quality between each example. This is particularly important when students are learning how to use Bump It Up resources.
Write an explanation of what the writer has added or amended to improve the quality of the text using the language of the assessment task.
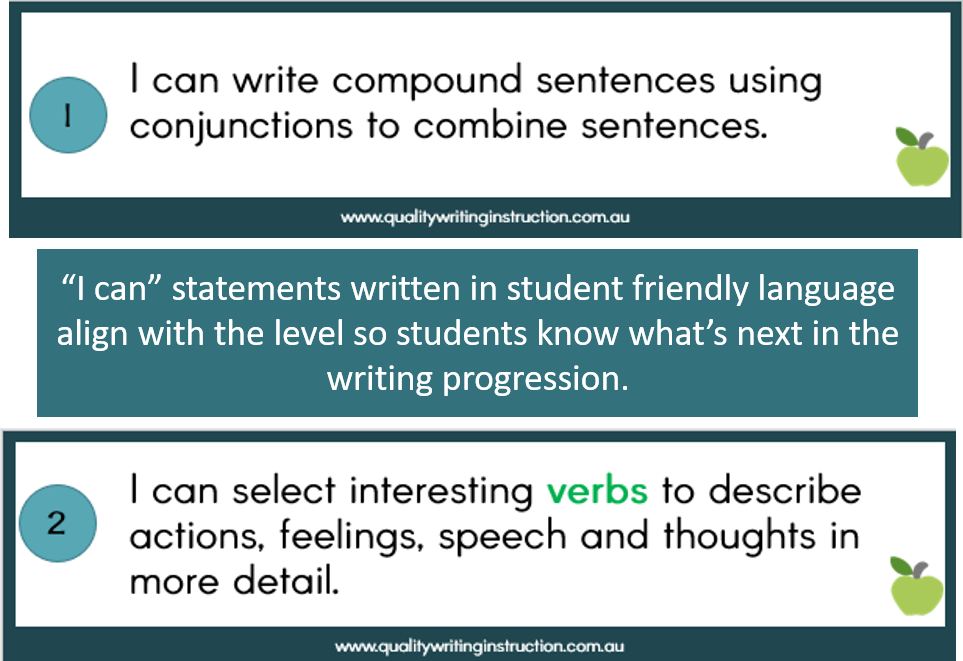
5. Align writing goals to the Bump It Up
Use the writing progression to inform students’ writing goals. These statements will provide feedback to students on their writing progress towards the next level of improvement.
‘I can’ statements, or similar, can be written to reflect the language of the writing progression.
They provide students with a way to measure and compare their progress directly with the resource.
Some final points to remember
Keep Bump It Ups simple and focused.
Word the resource in a way that students will understand what is expected but doesn’t lose the curriculum intent. Build the metalanguage students will require to discuss and explain their progress against the resource into the teaching and learning cycle.
Keep the focus for improvement narrow and focused. This may mean that instead of using a whole text as an example, progression is demonstrated through a few sentences or paragraphs. Consider how experienced students are using Bump It Ups, and the curriculum demands, to guide decisions around what is most appropriate.
Ensure the resource is student-friendly. Once the resource is prepared, set it up, stand back and really look at it. The resource should be easy to navigate and invite engagement. As learning progresses, resources and examples will be added, so ensure the wall is not likely to be confusing or distracting to students.
Finally, collaborate in teaching teams or with colleagues to create the Bump It Up resource whenever possible. Seek consensus that the finished resource accurately shows a progression of writing suitable for the year level, aligned with the assessment task and able to provide a purposeful reference for students as they progress through the unit of work.
Part 1 of our ‘How to make the most of your Bump It Up resources’ series explores how Bump It Up resources support students’ writing development and the questions to ask when purchasing, designing or borrowing Bump It Ups.
Part 3, and the final in the series, examines what teachers can do to optimise student engagement with Bump It Up resources. This blog is supported by video demonstrations.
Discussions and questions are encouraged in “The Lounge”, Quality Writing Instruction’s Facebook group.
References:
Black, P. and William, D. (2009). Developing the theory of formative assessment. Educational Assessment, Evaluation and Accountability, 21, 5-31.
Wilson, J. (2019). Assessing writing. In Graham, S., Macarthur, C.A. & Hebert, M. (Eds), Best Practices in Writing Instruction, 333-360, The Guilford Press: New York.